
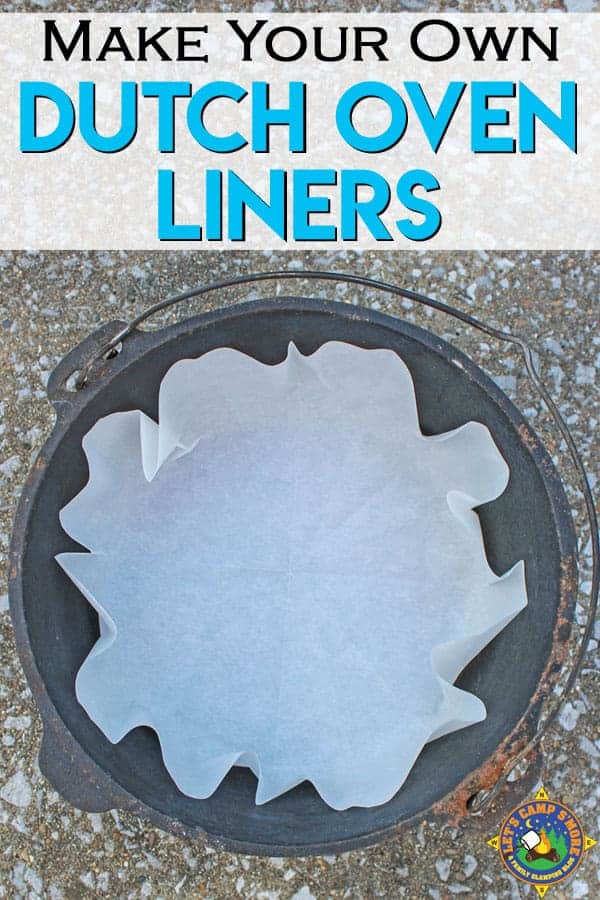
Make Your Own Dutch Oven Liners
Dutch Oven Liners are great for camping. Find out how easy it is to make your own.
We love cooking in a cast iron Dutch oven. We have joint custody of two of them.
They belong to a close friend, but she doesn’t camp much anymore. We kept borrowing them, so she said hold onto them.
We enjoy using them to cook desserts and main dishes. You can see our Dutch oven creations here.
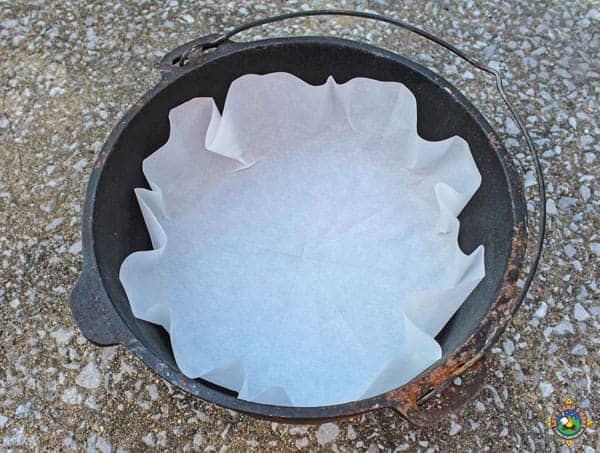
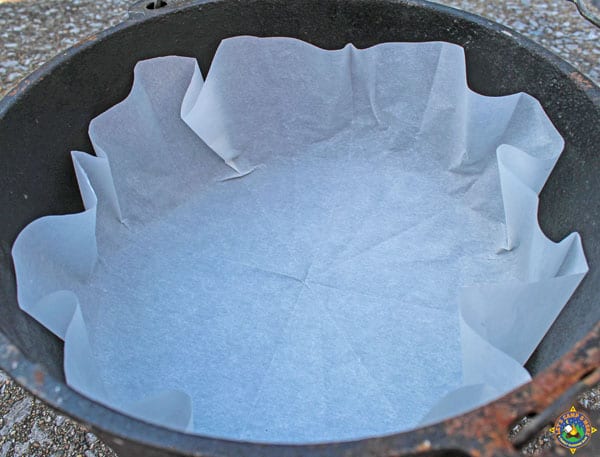
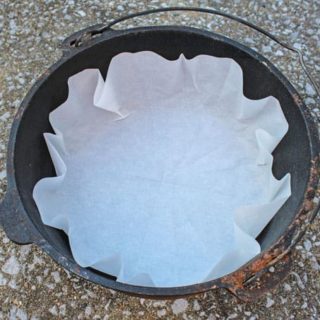
Have you ever tried cleaning a Dutch oven while camping? It can be a pain, so we like to use Dutch oven liners. They help keep the food from sticking to the side of the pot.
You can purchase liners here, but we’ve found that it’s much cheaper to make them yourself.
Dutch Oven Liners are incredibly easy to make. All you need is a roll of parchment paper, a measuring tape, and scissors.
DIY Dutch Oven Liners
Directions at the bottom of this post.
There are no special instructions for cooking with a liner; your food will taste the same as if you hadn’t used one.
Clean-up is a snap! Pull out the liner and discard it when finished.
We will use our liner to wrap any leftovers. How simple is that?
Here is another great Camping DIY Project-
Insulated Cooler Cover
Roasting Fork Covers
Portable Washing Machine
Fire Starter Logs
DIY Dutch Oven Liners
Making your own Dutch Oven liners is simple! They will make clean up a snap!
Materials
- parchment paper
Tools
- scissors
- measuring tape
Instructions
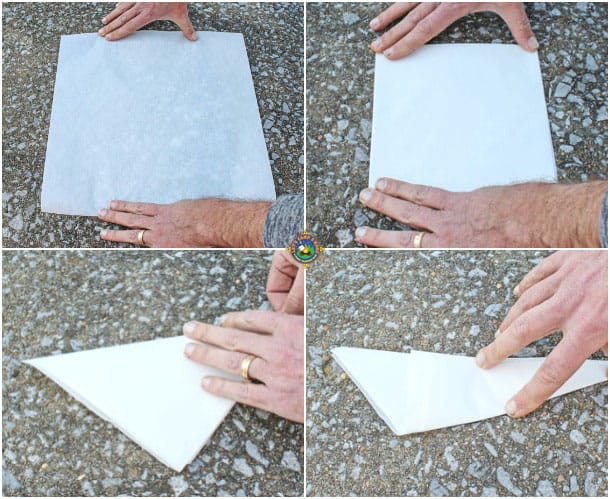
- Measure the width of the parchment paper.
- Cut a piece of parchment the length of the measurement you just took to get a square.
- Take the square and fold it into fourths.
- With your finger on the inside corner, fold the outside corners together.
- Fold the side corners across to the flat edge.
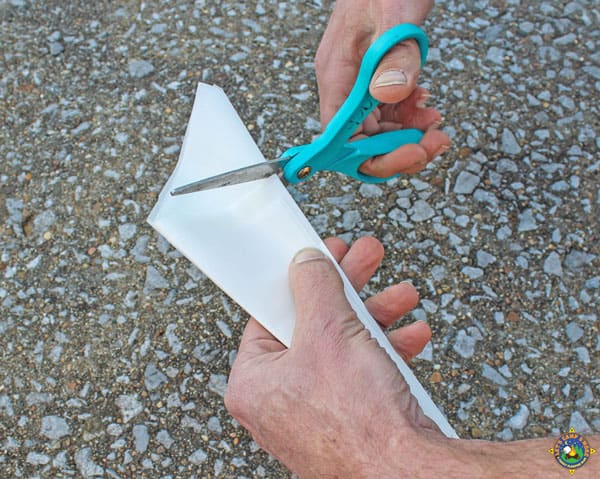
- Cut the point off along the top edge of the layers you just folded.
- Lay the folded paper inside your dutch oven with the point on the center of the pot.
- Press a fold where the bottom of the pot meets the side.
- Open up the folded liner and lay it in the dutch oven.
- The side edges will push flatter when filled with food.
Notes
We like to make up several and have them handy when we start cooking.


I usually brown my meat first, is that possible with the parchment paper in the pot?
Yes, it is, although it might try to slide around a little bit.
How do you find parchment paper wide enough for a 12″ Dutch oven? I’ve been using the Lodge brand of liners for years as they are large enough for a 14″ Dutch oven.
It is RenoyldsKitchen from the store.
Wish you would make a video of this….
I do same for preparing and cooking lasagna in a cast iron skillet and ‘baking’ on our gas grill. Safe and clean also!
nice!
@Julie, Haven’t tried “baking” on our gas grill. What temperature would you take the grill to for baking lasagna? I made parchment liners for my jumbo muffin tin to freeze sweet potatoes that had been roasted—made into individual servings for daughter and granddaughter to prepare quickly during their hectic schedules.
You don’t need a tape measure to get a square. Hold the roll in your left hand and pull the paper off the roll with your right. Take the upper right corner and pull it down and to the left so the right edge lines up with the bottom edge. Cut off the formed triangle and you have your square when you open it up.
Thank you for the tip!
Love this Liner. Till now I’ve either gone with no liner or used foil, this is great
So easy, right?!
Do you put the liners in an un-greased dutch oven and if the recipe calls to greasing or spraying (with a nonstick cooking spray) the dutch oven before do you do that to the liner? Thanks…it took me awhile to figure out how to fold them but once I got the hang of it they went really fast. I’m going to try this in 2 weeks when I go on a kayak trip!
We do not spray the liners at all. Enjoy your trip!