
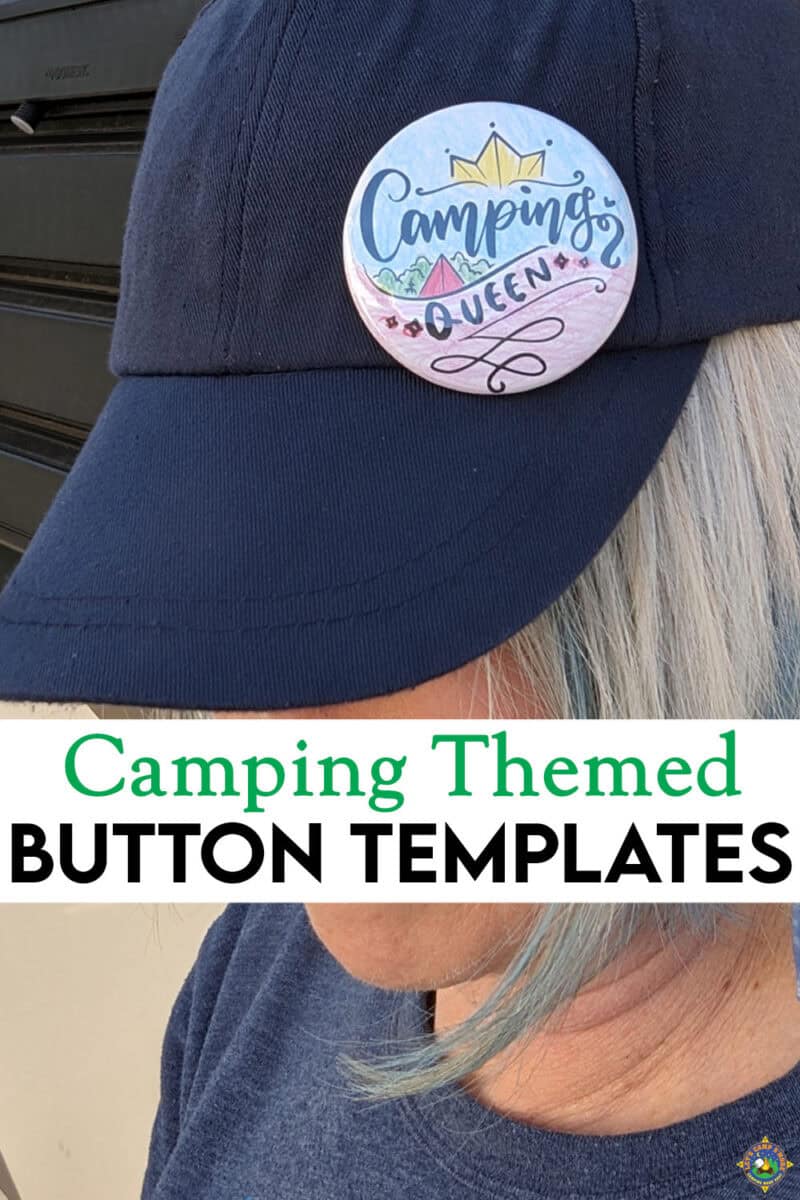
Free Camping Button Templates

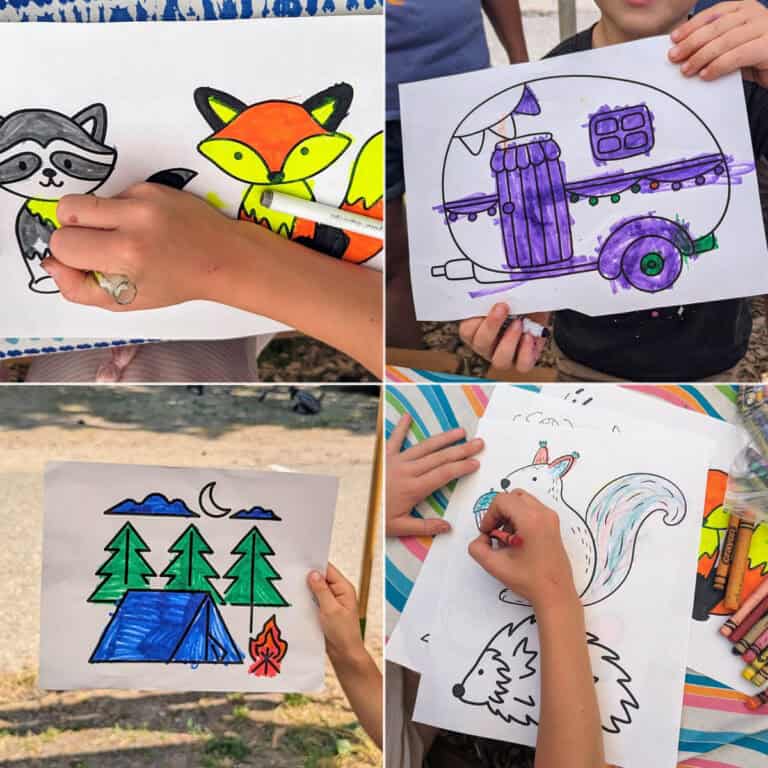
Embark on a fun crafting adventure using these Free Camping Button Templates. Color these adorable designs and pin them to backpacks, clothing, or hats.
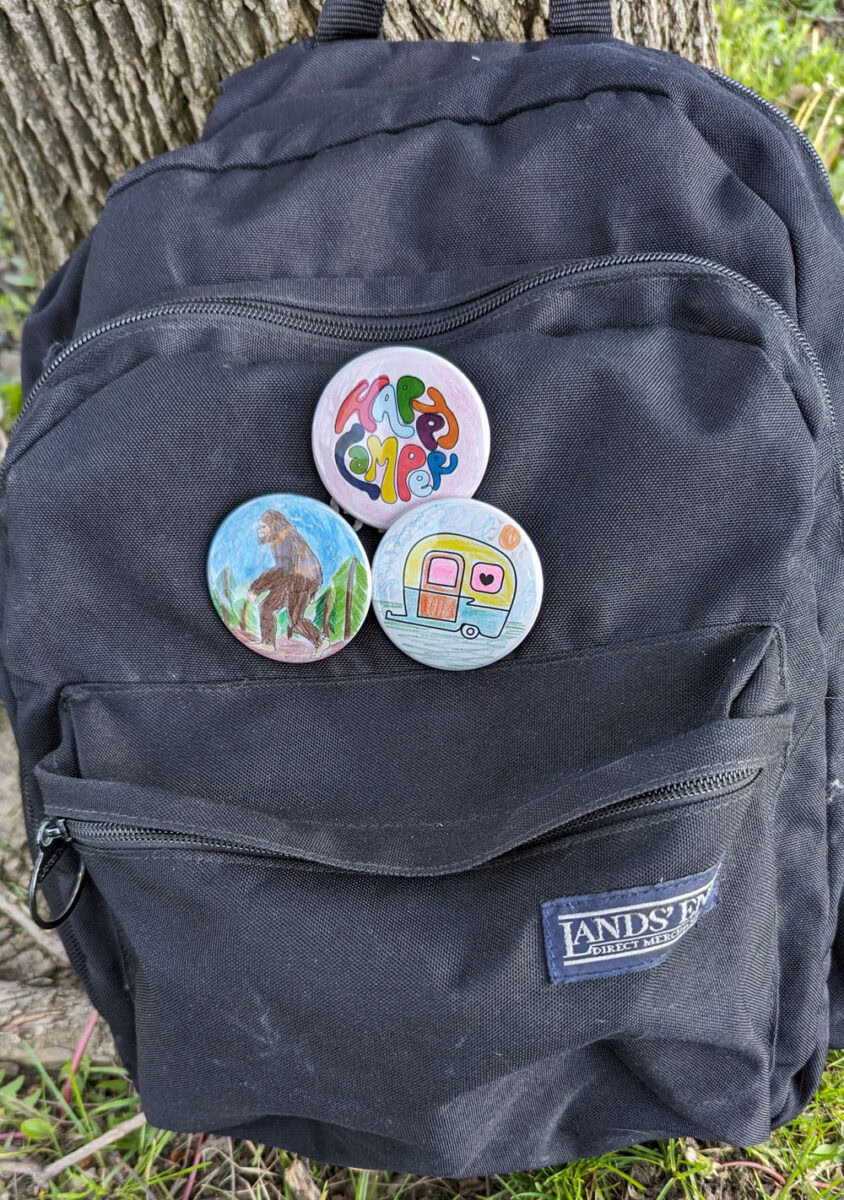
I am a button fan. My purse and fanny packs are covered with buttons, displaying my likes and beliefs. Several are camping-themed!
Buttons send a message and add a personal touch to outfits. With a button machine, your creative possibilities are boundless!
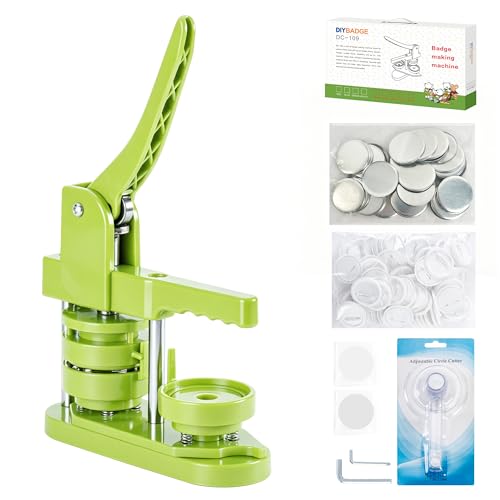
Many public libraries or maker spaces offer button machines for public use. If that’s not an option in your area, you can buy an affordable Button Maker to make your own whenever you want.
Camping Button Maker Templates
Recently, I was getting ready to make buttons with kids at the campground but could not find any designs, so I made my own 58mm/2.25 designs I am offering you. Check out my non-camping cute button designs.
There are three pages with eight designs each.
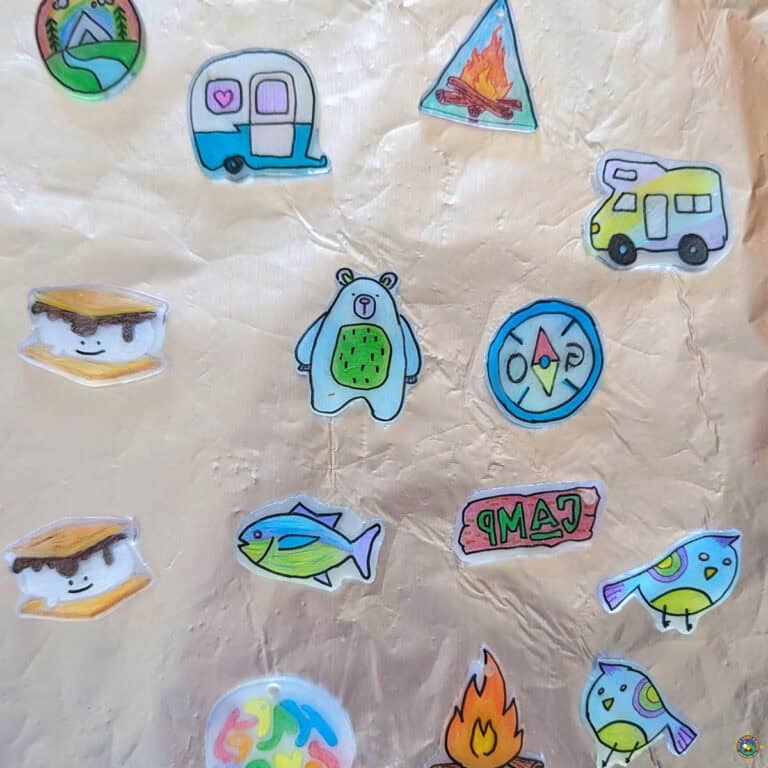
- Page 1: fire, flashlight, happy camper, binoculars, backpack, map, hiking boot, compass
- Page 2: signpost, s’more, Let’s Camp S’more, camera, kayak, roasting marshmallow, 2 camping scenes
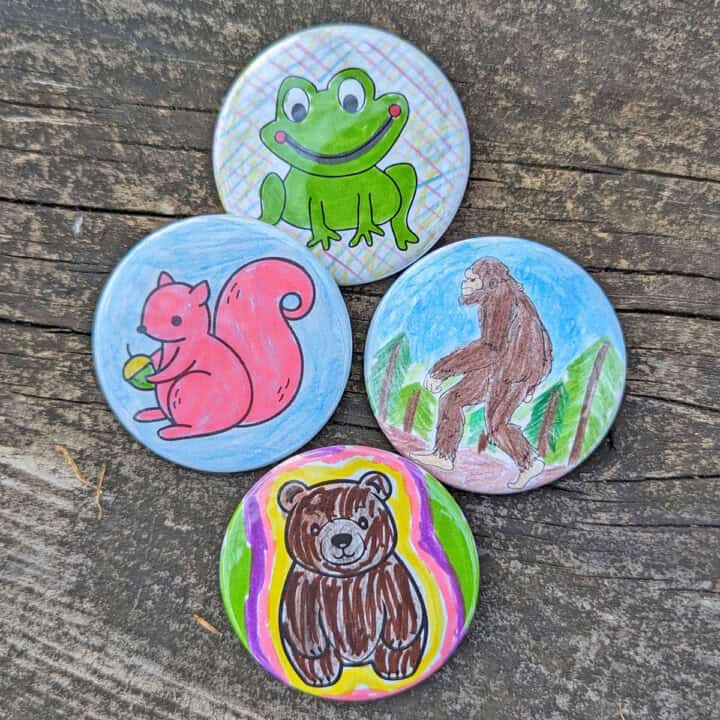
- Page 3: raccoon, squirrel, yeti, bear, frog, fishing, master of the campfire, camping queen
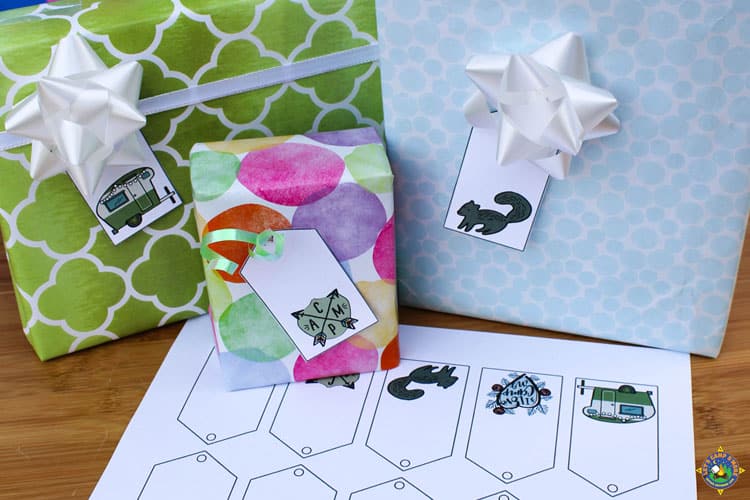
- Page 4: campers & tents
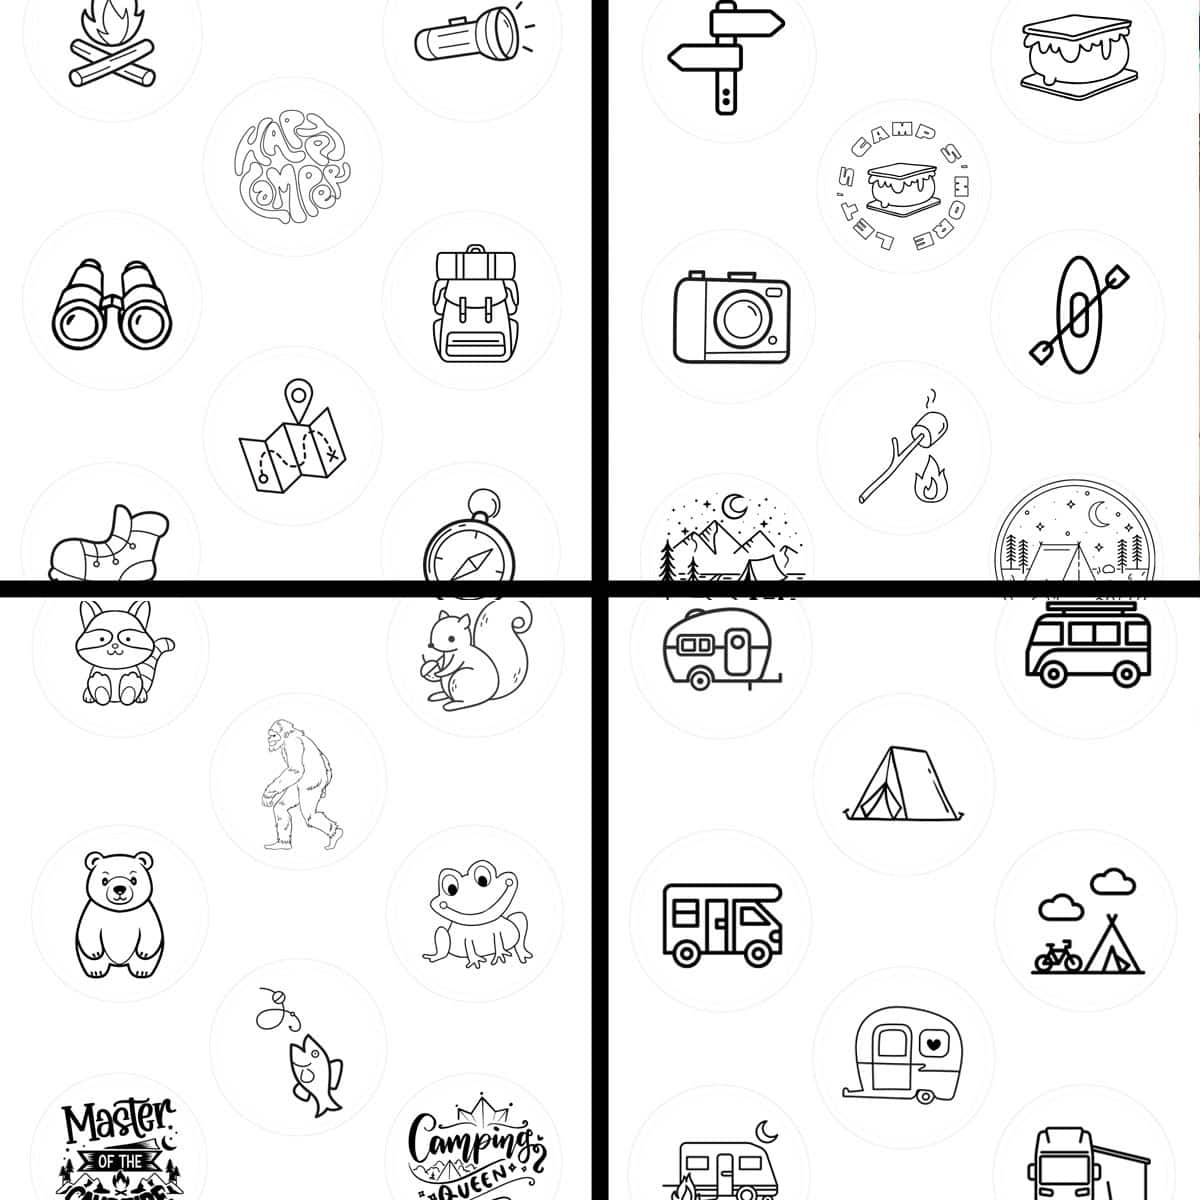
These fun designs fit in a 58mm/2.25-inch circle punch. Please note: the inner circle is the size of the button maker machine, and the outer circle is a cutting guide. Use the outer circle to cut out your design and the inner circle to ensure your design fits within the button shell.
I recommend using colored pencils, markers, or Sharpies in your button design.
How to Make a Button
The button consists of two parts that fit together: the top half, which holds the design under clear plastic, and the bottom half, which crimps the edges of the button together. To make a button using a button-making machine, follow these general steps:
- Cut out the design using a circle punch the same size as your button maker machine.
- Create your design, adding wording if desired. The circle’s edge wraps around the button, so leave space for text or design.
- Place the metal button backing in the bottom half of the machine.
- Place your design on the button shell, facing up.
- Add a clear plastic cover on top of the design.
- Rotate the machine and carefully pull down on the handle. Please supervise kids with the machine.
- Add the button backing to the other circle of the machine and rotate.
- Press down on the handle of the button maker to crimp the edges of the button together.
- Rotate and remove the completed button from the button maker.
And that’s it! Repeat and create all the buttons you want.
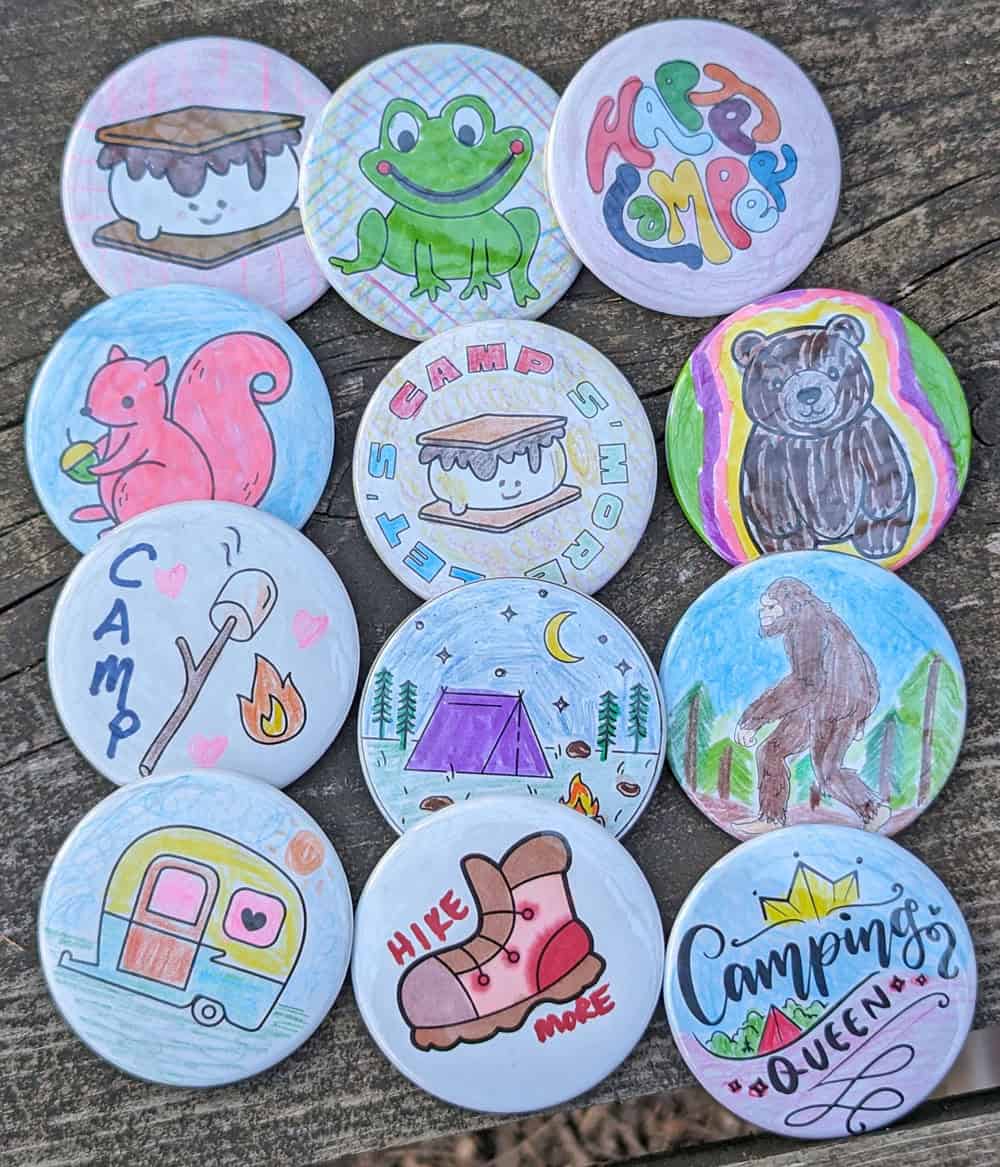
These camping designs are a fun way to add personality to your buttons. Button-making is a fun party activity!
Grab these cool button machine printables today and let your creativity loose!
Please share a photo of your creations on this pin or my Facebook page. Happy crafting!
Camping Button Templates
Use these Free Camping Button Templates to create buttons to decorate backpacks, clothing, hats, and more! Download, print, and color for a 58mm/2.25" button machine.
Materials
- paper
- markers
- coloring pencils
Tools
- printer
- scissors
- circle cutter
- button machine
Instructions
- Download the designs here. automatic download after click
- Cut out the design using a circle punch the same size as your button maker machine.
- Create your design, and add wording if desired. Leave space for text or design as the circle's edge will wrap around the button.
- Place the metal button backing in the bottom half of the machine.
- Put your design on the button shell, facing up.
- Add a clear plastic cover on top of the design.
- Rotate the machine and carefully pull down on the handle. Please supervise kids when using the machine.
- Place the button backing on the other circle of the machine and rotate.
- Press down on the handle of the button maker to crimp the edges of the button together.
- Rotate and remove the completed button from the button maker.
Notes
Don't want to buy a button machine? Check your local library or maker space for a maker.
Recommended Products
As an Amazon Associate and member of other affiliate programs, I earn from qualifying purchases.


These are so cute!! But, I cant find the real link to print them. Please help!
Just sent!