DIY Pop Up Camper Curtains
See how easy it is to customize your RV with custom pop up camper curtains. This requires basic sewing skills with your existing curtains as a guide.

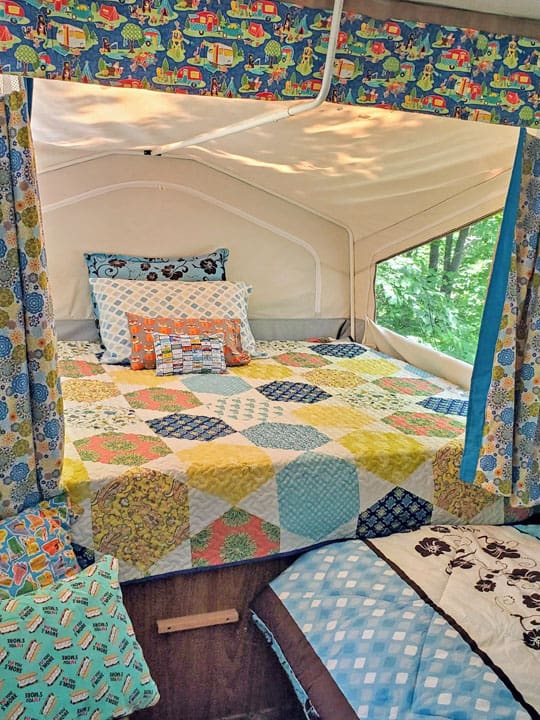
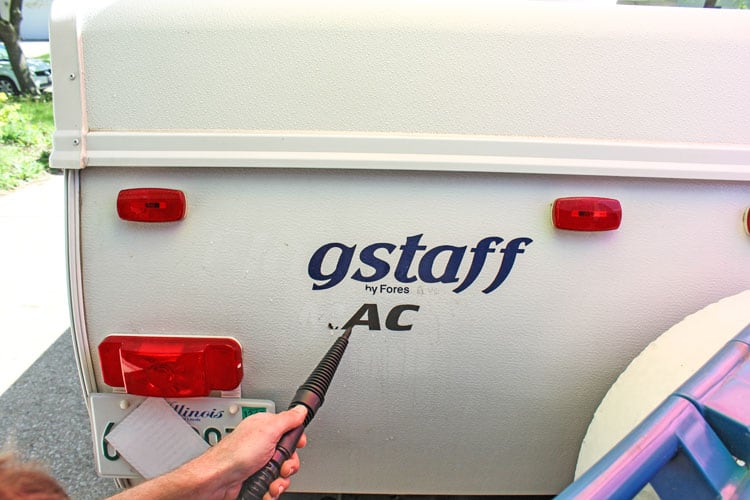
If you saw our remodeled pop-up camper post you know that we were tired of all the brown in our trailer. In particular, the curtains but you can replace the dinette table for an updated look too.

Since I like to simplify things and take a frugal approach, I decided to create my camper curtains DIY project by sewing fabric on top of the existing curtains. Here are the various fun prints on top of the curtain they are replacing.

How to Make Pop Up Camper Curtains
If you use this method, the best fabric for pop up camper curtains is lightweight cotton. I used a flat queen-size sheet as my fabric for the curtain panels along the sides of our camper. The existing curtains were a dark tan in the middle with a brown edging. I measured the tan area and cut out rectangles 1 inch larger around. I cut the fabric so that the existing side hem went on the bottom edge of the curtain. The old curtains did not have to be taken apart, nor I did not have to get pop-up curtain clips for the RV curtain track.
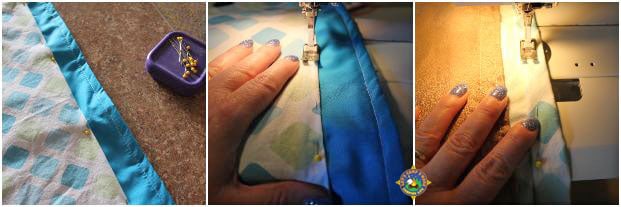
I cut a strip of coordinating turquoise fabric to cover the dark brown strip on each side of the curtain. These were also serged along the edges. I stitched them in place by putting right sides together and stitching along the inside edge. Then I wrapped the strip around and sewed it in place along the outside.

The other three edges were serged. I lined up the fabric, turned under an edge, and pinned them in place. Then I sewed them in place with a straight stitch, leaving the bottom edge unattached.
Finally, I hemmed the bottom edge of all of the curtains. You can see that the old curtain shows along the top edge, but that is covered by the valance.
DIY RV Curtains

I repeated this process for the bunk end curtains, leaving the mesh top part in place. These do not hang perfectly straight, but they are so cute so who cares? Since I used a lightweight cotton. There was not much weight added to the curtains. Keep your bed bunks cooled off with solar bunk end covers or solar window shades.

Cute Camping Fabric
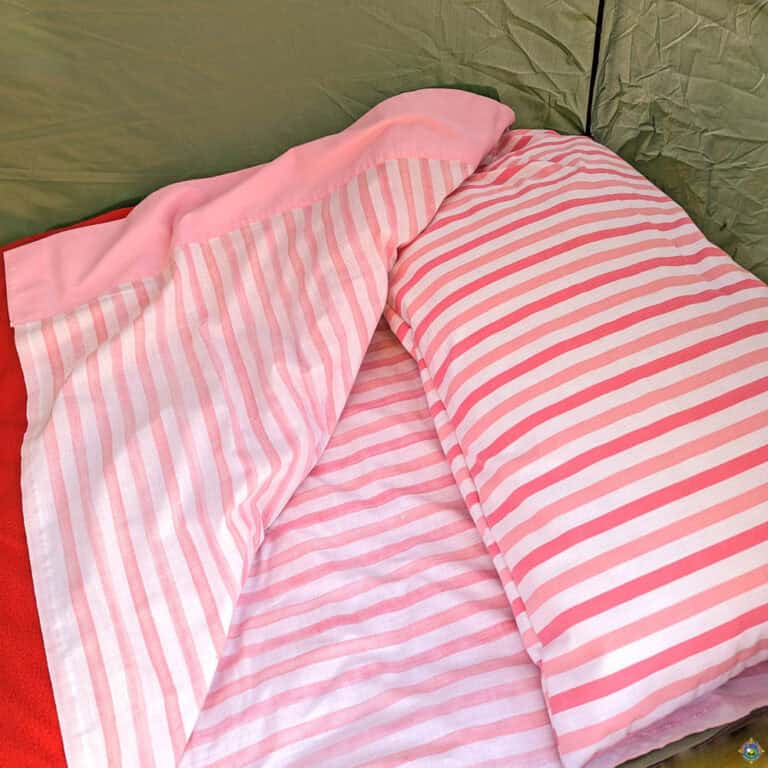
The valance was done a little differently. I did not have enough of this camping fabric to go over the existing fabric or to make ruffles, so I made a straight-hanging valance. Use extra fabric to make a sleeping bag liner.

The top of the existing valance had hanging strips along the bunk ends and velcro attachment along the sides. These attachments were under a ribbon trim. I did not want to redo these, so I cut off the ruffled fabric part and attached the new fabric just underneath the ribbon trim.

The new camping scene print valances turned out really cute, although they kind of get pushed out when a curtain is open underneath. No big deal. I do not need perfection.
Sewing Pillow Covers
I did the throw pillow covers two different ways. Some were a simple pillowcase sleeve. The rest are a coverslip with than opening in the back. All are removable and can be put through the washing machine.
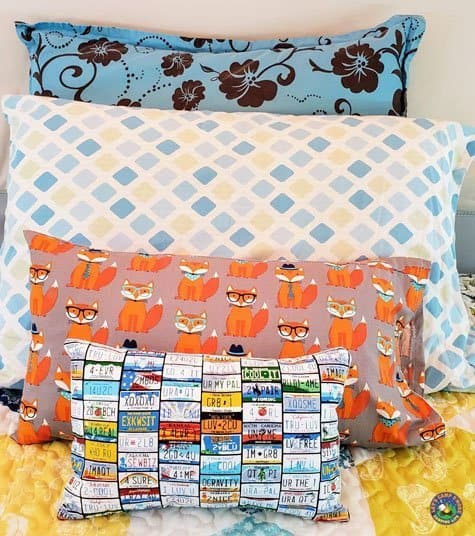
Pillowcases were made by sewing three edges of two rectangles with right sides together, and then hemming the opening edges. Although if it is a salvage edge I do not hem them. Fun pillows were created using old camping shirts.

The techniques above can be used for any curtains or pillows, not just ones in an RV.

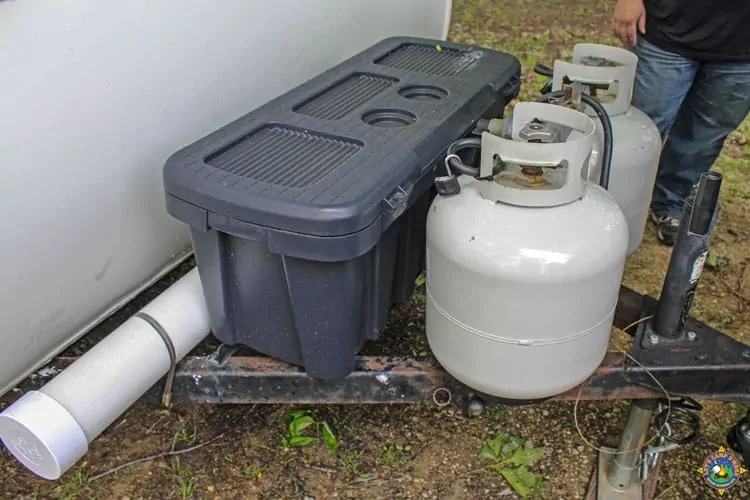
I am very pleased with our bright new pop up trailer remodel. Do you like it? If you need more storage for your pop-up, check out this hanging food storage shelf hack.